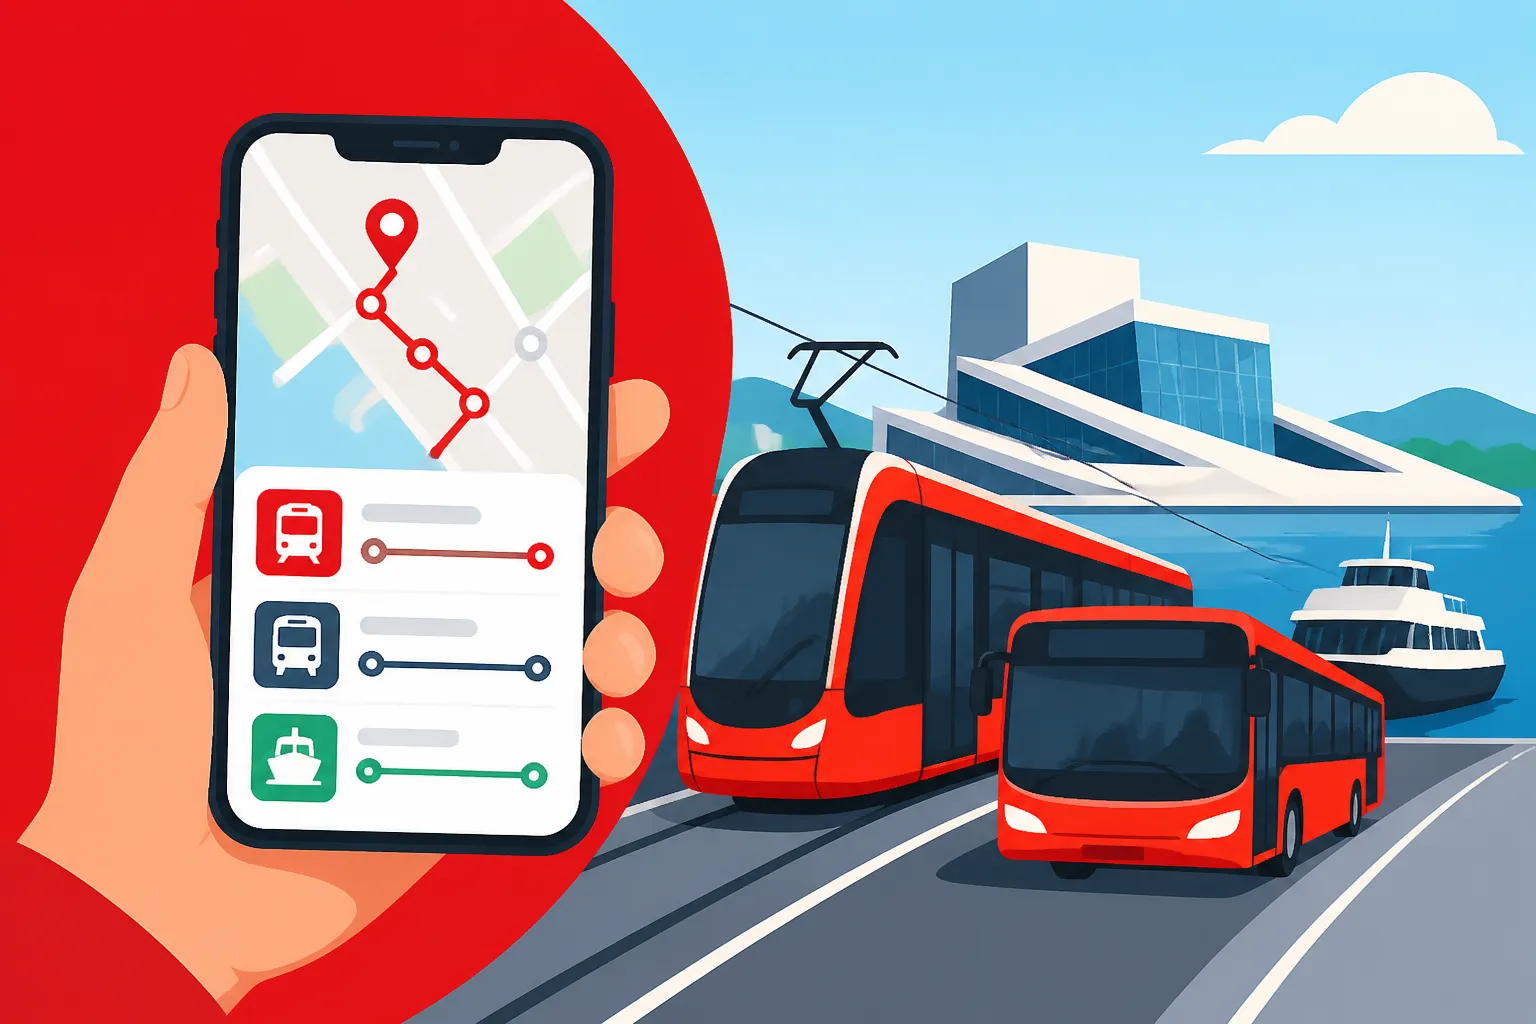
How to Use the Ruter App for Oslo Public Transport
Standing at a rainy bus stop in Oslo without a valid ticket is a rite of passage no one actually wants to experience. The city’s public transport is world-class, but the near-total lack of physical ticket booths can be paralyzing for newcomers. This comprehensive guide breaks down the Ruter app, from zone logic to hidden discounts, ensuring you navigate Oslo like a seasoned local from day one.
Getting Started with the Ruter App
When you first land at Gardermoen or step off a ferry, the digital landscape of Norway can feel intimidating. Unlike many other European capitals where you can tap a credit card on a reader, Oslo relies almost entirely on the Ruter app for seamless travel. There are no paper tickets sold on buses (and if you try to buy one from a driver on a regional bus, you will pay a significant "on-board" surcharge). Your first priority should be getting the app installed and functional.
Installation and Initial Configuration
The Ruter app is available on both iOS and Android. One of the first frustrations expats face is the "App Store region" trap. Occasionally, users find that their home country’s store doesn't allow the download, though Ruter has mostly fixed this. If you are struggling with a slow airport connection, using a service like Airalo to secure a local eSim with immediate data can be a lifesaver. Having that connection allows you to download the app and set up your profile while you are still waiting for your luggage.
Once installed, you don’t technically need to create an account to buy a single ticket, but I strongly advise you to do so. Creating a profile allows you to "verify" your identity and, more importantly, protects your period passes if you lose your phone. If you have moved here after finding a place through Spotahome and are juggling heavy bags and a new city, the last thing you want is to lose a 900 NOK monthly pass because you didn't spend two minutes linking it to a phone number.
Payment Methods and Identity Verification
The app accepts Visa, Mastercard, and Vipps. For most of us starting out, Vipps isn't an option because it requires a Norwegian national ID number. You will likely be using your home country’s credit card initially. This is where people often get stuck: the 3D Secure verification. Make sure your home bank is ready to send you that verification SMS, or you’ll be stranded at the station.
As you settle in, you'll realize that the BankID Explained: Norway's Digital Identity System and Expat Challenges is the key to unlocking the full potential of Norwegian apps. Once you have BankID and a Norwegian bank account, you can switch to Vipps for one-tap ticket purchases, which is significantly faster when you see the 12-tram pulling up and you haven't bought your ticket yet.
Navigating the Interface in English
Thankfully, the Ruter app detects your phone's language settings. If your phone is set to English, the app will be too. The interface is divided into three main sections: "Plan," "Buy," and "Tickets." The "Plan" section is a robust trip planner that rivals Google Maps, specifically because it accounts for real-time "deviations" (avvik). In Oslo, construction on the T-bane (metro) tunnels is a common summer occurrence, and the app will automatically suggest the "bus-for-train" replacements.
Mastering the Oslo Zone System and Ticket Types
One of the most common mistakes I see expats make is misunderstanding the zone system. They assume that because they are "in Oslo," their ticket covers everything. It doesn't. Ruter divides the greater Viken area into zones, and while Zone 1 covers the vast majority of the city, your weekend trips will often take you beyond its borders.
Decoding Zone 1, 2, and 4V
Zone 1 is the heart of Oslo. It includes the city center, Grunerløkka, Majorstuen, and even extends out to places like Holmenkollen. If you are living in one of the Where to Live in Norway: Top Expat Neighborhoods in Oslo, Bergen, and Beyond, you will likely spend 95% of your time in Zone 1. However, if you are heading to the airport (Gardermoen), you are traveling to Zone 4N.
If you already have a 30-day pass for Zone 1 and want to visit the Munch museum in Lillestrøm (Zone 2R), you don't need a whole new ticket. You can buy a "tilleggsbillett" (extra zone ticket) within the app. The app is smart enough to see you have an active pass and will only charge you the difference for the extra zone. This is a crucial tip for keeping your Cost of Living in Norway 2026: Budgeting for Singles and Families under control.
| Ticket Type | Best For | Zone 1 Cost (2026 Est) |
|---|---|---|
| Single Ticket | One-off trips (60 mins) | 42 NOK |
| 24-Hour Pass | Intense days of sightseeing | 127 NOK |
| 7-Day Pass | Visitors or short-term stays | 352 NOK |
| 30-Day Pass | Daily commuters | 897 NOK |
| 365-Day Pass | Long-term residents | 8970 NOK |
The Reis Personal Discount System
This is a relatively new feature that every expat needs to know about. Ruter has introduced a "loyalty" program called Reis. If you find that you don't commute every single day (perhaps you work from home twice a week), a 30-day pass might not be cost-effective. With Reis, the more single tickets you buy over a 30-day period, the cheaper each subsequent ticket becomes.
It works on a sliding scale. After your first few trips, you might get a 15% discount, which can climb up to 40% if you travel frequently. The app tracks this automatically. You just have to "opt-in" to the Reis program within the app settings. It’s a fantastic middle ground for those who aren't ready to commit to a full monthly pass but are using the T-bane more than a tourist would. When you are still in your First 30 Days Health Checklist: GP, Frikort, and Pharmacies phase, every saved Krone counts.
Buying for Others and Pets
If you have family visiting, you can buy multiple tickets on one phone. You simply go to the "Buy" tab, select the ticket type, and increase the quantity. Note that if you are traveling with a dog, you need to buy a "child" priced ticket for them if they are larger than "lap size." Small dogs in bags usually travel for free, but the rules can be a bit subjective based on the driver's mood. Bikes also require a child ticket, but they are only allowed on the T-bane and trains outside of rush hour.
Planning Your Daily Commute and Real-Time Features
The "Plan" tab in the Ruter app is where you will spend most of your time. It doesn't just show you when the bus is supposed to arrive; it shows you where the bus actually is using GPS data.
Real-Time Tracking and Deviations
In the winter, "real-time" becomes your best friend. Standing in -15°C for a bus that is stuck in a snowdrift is a miserable experience. The app will show a countdown in minutes. If the time is pulsing, it’s live data. If it’s a static time (e.g., 14:05), that is the scheduled time, and the bus likely doesn't have its GPS active.
Always check the "Deviations" tab if you see your usual route is highlighted in yellow or red. Oslo’s infrastructure is great, but a single stalled truck in the Opera Tunnel can paralyze the entire bus network. The app will often suggest alternative routes, like taking the T-bane instead of the bus, which is almost always faster during a "snøkaos" (snow chaos) day.
Integrating City Bikes and Scooters
Ruter has started integrating other forms of transport. You can now see the availability of Oslo Bysykkel (City Bikes) and various e-scooter brands directly on the map. While you usually still need the specific app to unlock them, having the data in one place helps you decide if it’s faster to walk 5 minutes to a bike rack or wait 8 minutes for the tram. If you’ve just moved into an apartment you found on Spotahome and are still figuring out the local shortcuts, this map view is invaluable.
The Island Ferries
One of the best "hidden" features of the Ruter app is the ferry system. From Aker Brygge, you can take ferries to Hovedøya, Gressholmen, and other islands in the Oslo Fjord. These ferries are part of the Ruter system. This means your Zone 1 single ticket or 30-day pass covers the boat ride. In the summer, these ferries are packed with locals heading out for a BBQ. Using the app to check the ferry schedule is much easier than squinting at the boards at the pier. It’s a quintessential part of Norwegian Etiquette: Social Rules, Dugnad, and Making Local Friends—inviting someone for an "island hop" using your standard Ruter pass.
Avoid Fines and Navigating Inspections
In Norway, we have an "honor system" with a bite. There are no turnstiles at T-bane stations. You just walk onto the platform and board the train. However, ticket inspections (kontroll) are frequent and unpredictable.
What Happens During a Kontroll
Inspectors usually work in large groups, often wearing civilian clothes until they pull out their badges and scanners. When they board, they will ask to see your "gyldig billett" (valid ticket). You simply open the Ruter app, go to the "Tickets" tab, and show them the QR code. They will scan it with their handheld device.
If your ticket hasn't "started" yet, you are in trouble. When you buy a single ticket, there is a 2-minute countdown before it becomes valid for travel. This is to prevent people from sitting on the bus and only clicking "buy" when they see an inspector board. If you are caught without a valid ticket, the fine is currently 1,150 NOK (if paid on the spot) or 1,470 NOK if you want an invoice. They do not accept "I'm a tourist" or "The app was slow" as excuses.
Troubleshooting Battery and Data Issues
"My phone died" is the most common reason for a fine. Legally, it is your responsibility to ensure your device has enough power for the duration of your journey. If your phone dies and you are inspected, you will be fined. You can appeal this later if you can prove you had a valid pass linked to your account, but it is a massive administrative headache.
This is why having a reliable data connection is so important. If you are using Airalo for your data, ensure you haven't run out of gigabytes mid-trip. We recommend carrying a small power bank during the winter, as the Norwegian cold can sap a phone's battery from 40% to 0% in a matter of minutes. Also, remember that Public Transport in Oslo (Ruter): Zones, Tickets, and Monthly Passes are only valid if your phone is functional. If you know your phone is unreliable, you can buy a physical "Reisekort" (plastic card) at a Narvesen or 7-Eleven and load your passes onto that instead.
Navigating the "Night Bus"
Oslo has a specific "Nattbuss" network that runs after the T-bane shuts down (usually around 01:00 AM). In the past, these required a much more expensive special ticket. Today, your standard Ruter ticket or 30-day pass covers the night bus at no extra charge. This is a huge win for your social life. The app will automatically switch to "Night Mode" planning, showing you the 'N' prefixed routes (like the N18 or N1). Be aware that these buses can be rowdy on weekends, so keep your phone—and your Ruter app—secure.
Special Circumstances and Local Secrets
As you become more comfortable, you'll notice small nuances that make the Ruter app even more powerful.
- The 60-Minute Rule: A single ticket is valid for 60 minutes from the moment of purchase. However, as long as you board your last vehicle before the 60th minute, you can stay on it until you reach your destination, even if the ticket expires while you are in transit.
- Traveling with Children: On weekends (Friday 6:00 PM to Sunday midnight), a paying adult can bring up to four children (under 18) for free in Zone 1. This is a "secret" many expats miss, and it makes family outings significantly cheaper.
- Proof of Student Status: If you are using a student discount, you must have the "Studentbevis" app or a valid physical student ID with a semester sticker. The Ruter inspectors are very strict about this.
- Moving Day Logistics: If you are using Buying Second-Hand on Tise or Finn to Save Money to furnish your new place, you might be tempted to take a small table or chair on the bus. Most drivers are okay with this as long as it isn't rush hour and it doesn't block the aisle, but technically, "bulky items" require a child ticket.
By the time you've navigated your first T-bane delay or successfully taken the ferry to Nakholmen for a summer swim, the Ruter app will feel like an extension of your own arm. It’s the ultimate tool for Setting Up Utilities: Electricity, Heating, Internet, and Mobile Plans and general life in the capital. Download it, link your card, and start exploring—just make sure your battery is charged.
Disclaimer
This guide is for informational purposes only. Ruter frequently updates its pricing, zone boundaries, and terms of service. While we strive to keep this information accurate for 2026, always check the official Ruter.no website or the app’s "Terms and Conditions" section for the most current regulations and fine amounts. Public transport rules can change with municipal policy shifts.