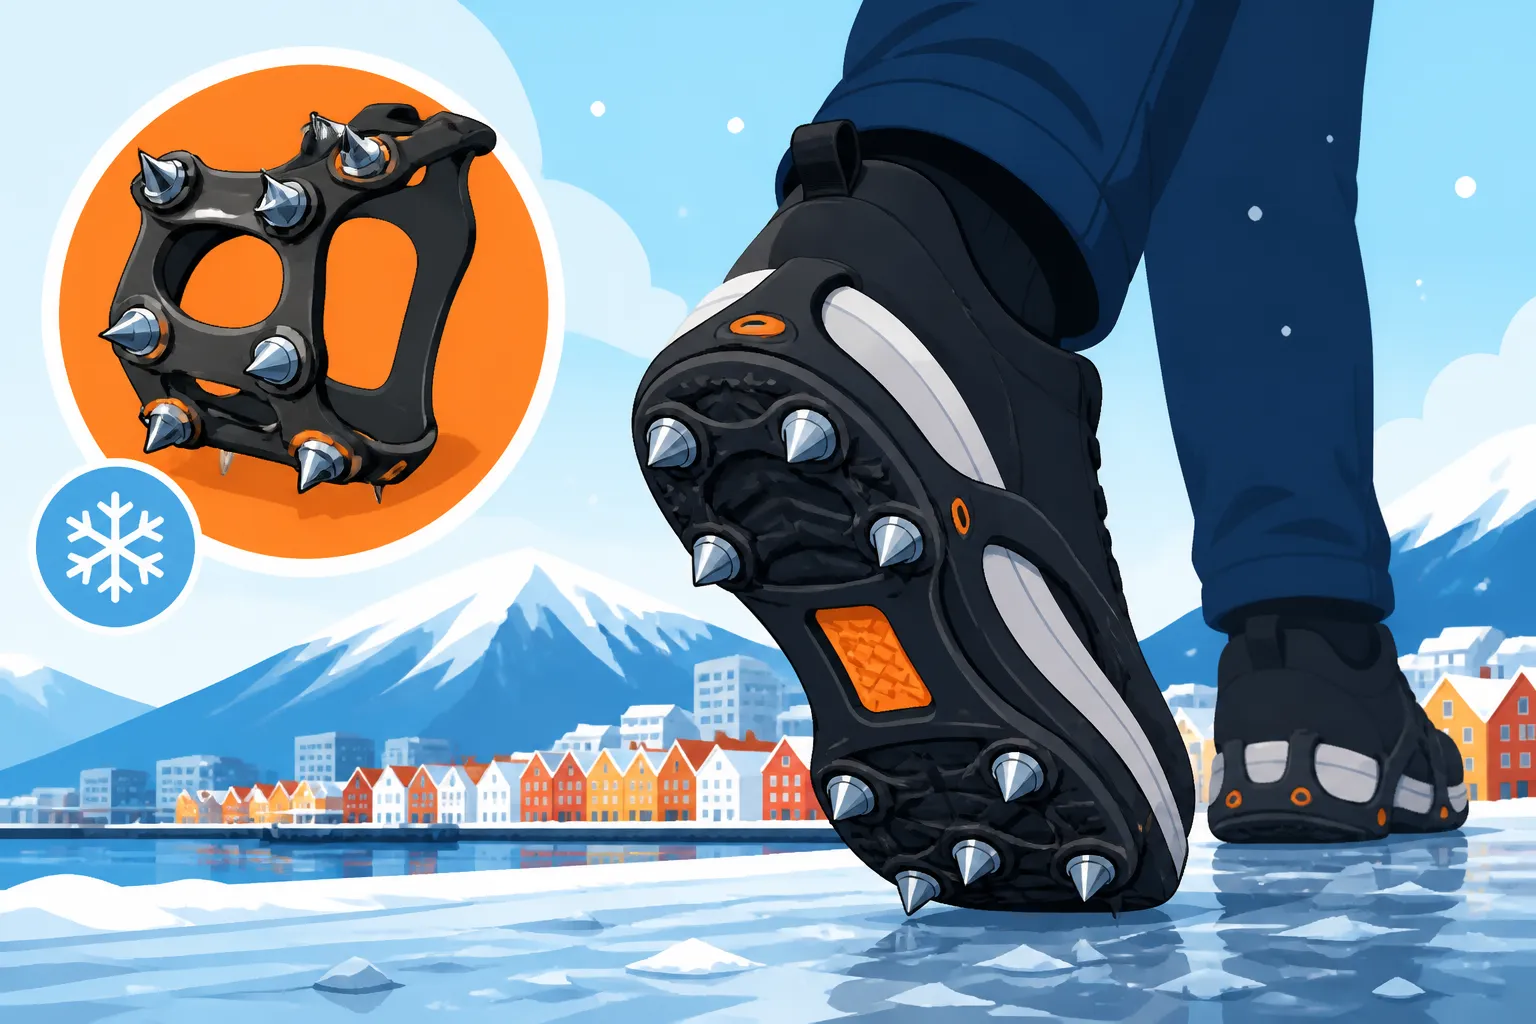
Using Ice Spikes (Brodders) on Your Shoes for Winter Commutes
Ah, the Norwegian winter. While undeniably beautiful with its crisp air and sparkling snow, it also brings a particular dread for many of us expats: the ice. One minute you're confidently striding along, the next you're doing an involuntary (and often painful) interpretive dance on an invisible sheet of black ice. Fear not, my friends, for this guide is all about your secret weapon against the slipperiness – the humble yet mighty "brodders" (ice spikes). We’ll dive deep into why these seemingly simple additions to your footwear are an absolute game-changer for safe winter commutes and how to choose and use them effectively.
Why "Brodders" Are Non-Negotiable for Norwegian Winters
Let’s be honest, living in Norway means embracing winter, but it doesn't mean embracing broken bones. The moment the temperature hovers around zero, especially after a fresh snowfall or a brief thaw, the ground transforms into a perilous ice rink. Trying to navigate this without proper grip is, frankly, a gamble you don't want to take.
The Reality of Icy Footpaths and Black Ice
I remember my first winter here in Oslo. I was feeling quite smug in my new, heavy-tread winter boots, thinking I was invincible. Then came the dreaded "underkjølt regn" – freezing rain. What looked like a damp pavement instantly became a sheet of pure glass. I went down hard, landing with a sickening thud that left me shaken and bruised. It’s an experience many expats share, a rude awakening to the true nature of Norwegian ice.
It's not just the visible sheets of ice that catch you out. Black ice, often hidden on shaded paths or under a dusting of fresh snow, is the silent assassin of winter commutes. One moment the path looks fine, the next you're sprawling. Even gritted or sanded paths can be deceptive; the grit often gets pushed aside by pedestrians, leaving slick patches exposed. This is where brodders become your best friend. They provide that crucial bite into the ice, giving you stability where your boots alone simply can't. Without them, you're constantly on high alert, doing the awkward shuffle, or worse, risking a serious fall.
Preventing Costly Injuries and Disruptions
Falling on ice isn't just embarrassing; it can be incredibly dangerous and costly. We're talking about sprains, fractures, concussions, or worse. Imagine breaking your wrist or ankle just trying to get to work. Not only is it painful and debilitating, but it can lead to weeks, if not months, of recovery. And while Norway has an excellent healthcare system, navigating Emergency Medical Care in Norway: 113, Legevakten, and Hospitals is not how you want to spend your winter.
Beyond the physical pain, there’s the disruption to your life. Missing work, struggling with daily tasks, and the potential for long-term complications. Even minor falls can result in bruising and soreness that make every movement uncomfortable. Investing in a good pair of brodders is a small price to pay for your safety and peace of mind. Think of them as an essential piece of winter gear, just like your warm jacket or wool underwear. They're a proactive step to ensure you stay healthy and active through the darkest months, keeping those potential medical bills and lost productivity at bay. Understanding your Healthcare Budgeting: The Frikort Exemption Card and User Fees is important, but preventing the need for an emergency visit in the first place is always the better option.
Choosing the Right "Brodders" for Your Needs
Just like with anything, there isn't a one-size-fits-all solution when it comes to ice spikes. What works for a quick dash to the local matbutikk might not cut it for a longer walk to the bus stop or an icy hike. Understanding the different types available will help you make an informed choice that suits your lifestyle.
Types of Ice Spikes: Casual vs. Serious Grip
Generally, you'll find brodders falling into a few main categories, each with its own benefits and drawbacks:
-
Casual Slip-On Brodders (Elastomer Band with Small Spikes): These are perhaps the most common type you'll see on urban commuters. They typically consist of a stretchy rubber or silicone band that fits over the toe and heel of your shoe, with small metal studs or coils embedded on the underside.
- Pros: Very easy to put on and take off, lightweight, compact, and affordable. They provide decent grip on light ice and packed snow.
- Cons: Can sometimes slip off certain shoe types, especially if the fit isn't perfect. The small studs can wear down quickly with frequent use on pavement, and they offer less aggressive grip on very thick or uneven ice.
- Best For: Everyday urban walking, short commutes, light icy conditions, quick errands.
-
Mid-Range Brodders (More Robust Rubber Frame with Larger Steel Studs/Chains): These step up in terms of grip and durability. They often feature a more substantial rubber or silicone frame that covers a larger portion of your shoe's sole, with larger, more strategically placed steel studs or even small chain links.
- Pros: Significantly better grip than casual options, more secure fit, and often more durable. The larger spikes dig deeper into the ice.
- Cons: Can be a bit bulkier and slightly harder to put on/take off. More noticeable (and sometimes noisy) on bare pavement.
- Best For: Longer commutes, variable winter conditions including slush and thicker ice, light hiking.
-
Heavy-Duty Crampon-Style Brodders (Aggressive Chains and Spikes): If you're planning serious winter hiking, ice fishing, or navigating truly treacherous, icy trails, these are what you need. They resemble miniature mountaineering crampons, often with stainless steel chains connecting multiple robust spike plates.
- Pros: Unbeatable grip on virtually any icy surface, extremely durable, and designed for extreme conditions.
- Cons: Overkill for urban use, heavy, can be cumbersome to walk in on non-icy surfaces, and definitely need to be removed indoors. They are also the most expensive option.
- Best For: Winter hiking, glacier walks, icy wilderness trails.
-
Screw-in Studs: These are small, threaded metal studs that you literally screw into the soles of your dedicated winter boots.
- Pros: Provide integrated, permanent grip. You never forget them, and they become part of your footwear. Very durable.
- Cons: Requires specific boots you're willing to drill into. Not suitable for all types of shoe soles. Can be noisy and potentially damaging on indoor floors.
- Best For: Dedicated winter boots used exclusively for icy outdoor activities, or for specific work footwear.
Factors to Consider When Buying
When you're standing in a sports store like XXL or G-Sport, or even checking out the options at a pharmacy like Apotek 1 or Boots, it can be overwhelming. Here's what to keep in mind:
- Fit and Shoe Compatibility: This is crucial. Your brodders need to fit snugly over your chosen winter footwear – whether that's a sturdy hiking boot or a more urban-style winter shoe. If they're too loose, they'll shift around or even fall off. If they're too tight, they might snap. Some brodders are designed for specific shoe shapes, so check the packaging or ask for advice. For example, some might not stretch well over very chunky or oddly shaped boot toes.
- Material Durability: Look at the spikes themselves. Are they steel, or a more durable material like tungsten carbide? Tungsten carbide spikes last much longer, especially if you occasionally walk on bare pavement. Also, assess the elastomer or rubber band quality. Cheaper versions can become brittle in extreme cold and snap, leaving you stranded.
- Ease of Application and Removal: Think about your routine. If you're constantly going from icy sidewalks to warm shops, public transport, or your office, you'll want something that’s easy to slip on and off. Some designs require more tugging and wrestling, which isn't ideal in a hurry or with cold fingers. This is particularly important if you're using Public Transport in Oslo (Ruter): Zones, Tickets, and Monthly Passes and need to quickly remove them before boarding.
- Noise and Comfort: The more aggressive the spikes, the more noticeable they'll be on non-ice surfaces. Walking across a tiled floor with heavy-duty brodders can sound like a tap-dancing reindeer. Consider if this will be an issue in your daily environment. For example, if you work in an office, you'll definitely want to be able to remove them quickly.
- Price Range and Where to Buy: You can find basic models for as little as NOK 100-200, while high-end crampon-style brodders can go up to NOK 1000+. Most general sports shops (XXL, Intersport, G-Sport) will have a good selection, as will larger outdoor gear specialists. Even some supermarkets and pharmacies carry simpler versions. Don't cheap out too much – a slightly more expensive pair often means better materials and greater longevity.
Here's a quick comparison table to help you visualise the options:
| Feature | Casual Slip-On (e.g., silicone band with small studs) | Mid-Range (e.g., rubber frame with larger steel studs) | Heavy-Duty Crampon (e.g., chain/spikes for hiking) | Screw-in Studs (for dedicated boots) |
|---|---|---|---|---|
| Best Use | Urban commutes, light ice/snow | Moderate ice, varied terrain, slush | Serious ice, hiking, icy trails | Permanent solution for specific boots |
| Grip Level | Basic to good | Good to very good | Excellent | Very good to excellent |
| Ease of On/Off | Very easy | Moderate | More effort, sometimes straps | Permanent installation |
| Indoor Use | Remove immediately | Remove immediately | Definitely remove immediately | Avoid on bare floors, can damage |
| Durability | Varies, rubber can wear | Good, usually replaceable spikes | Excellent, heavy-duty materials | Very durable, long-lasting |
| Price Range | NOK 100 – 300 | NOK 250 – 600 | NOK 500 – 1000+ | NOK 150 – 300 (per pack of studs) |
| Pros | Compact, affordable, quick | Better grip, more secure fit, versatile | Unbeatable grip in harsh conditions | Integrated, never forget them |
| Cons | Can slip off, less grip on heavy ice | Can be bulky, some noise on pavement | Overkill for urban use, heavy, expensive | Requires drilling, specific boots |
Practical Tips for Using and Maintaining Your Ice Spikes
Buying the right pair of brodders is just the first step. Knowing when and how to use them, and how to keep them in good condition, will ensure they serve you well throughout the long Norwegian winter.
When and Where to Use Them
The primary rule for brodders is simple: use them on ice and snow, remove them on bare, hard surfaces. This sounds obvious, but it's crucial for both your safety and the longevity of your spikes.
- Transitioning Indoors: Always, always, always remove your brodders before stepping onto indoor floors. Not only can the spikes be incredibly slippery on smooth tiles or wood, leading to a fall even worse than on ice, but they can also cause significant damage to floors. Many shops and public buildings have mats or dedicated areas where people can remove their brodders. Make it a habit.
- Bare Pavement: Similarly, walking on dry asphalt or concrete with spikes will quickly dull them and wear down the rubber bands. It also creates an annoying clicking sound. If your commute involves long stretches of clear pavement punctuated by icy patches, consider a pair that's easy to take on and off, or simply walk carefully during the clear sections.
- Public Transport: Be mindful on buses, trams, and T-bane. While you might keep them on for the walk to the stop, try to remove them before getting on, especially if the vehicle floor is damp. A quick slip inside a moving bus is not fun for anyone. For more on navigating winter public transport, check out our guide on Public Transport in Oslo (Ruter): Zones, Tickets, and Monthly Passes.
- Driving: Absolutely do not wear brodders while driving. They will damage your car's floor mats and pedals, and could even interfere with your ability to operate the vehicle safely. Keep them in your bag or by the door of your car if you plan to use them after parking.
Care and Storage for Longevity
Brodders are tools, and like any tool, they need a little care to last. Neglect them, and you’ll find yourself needing replacements sooner than you'd like.
- Cleaning After Use: Norway uses a lot of salt on its roads and pavements during winter to melt ice. This salt is corrosive. After a walk on slushy, salted streets, your brodders will be coated in it. Make a habit of rinsing them off with plain water when you get home. A quick spray or dunk will do wonders to prevent rust on the metal spikes and degradation of the rubber.
- Drying Thoroughly: After rinsing, ensure they are completely dry before storing them. Hang them up or lay them out to air dry. If you just toss them into a shoe basket while wet, you'll accelerate rust formation and make the rubber stiff and grimy. Imagine you've just walked through slushy, salted streets, arrived home, and tossed your brodders into the shoe basket. The next morning, you find them stiff, gritty, and already showing signs of rust. Not ideal when you’re rushing out the door.
- Proper Storage: Store them in a way that prevents tangling (especially the chain-link types) or damage to the rubber. Some come with a small carrying pouch, which is perfect. If not, a small fabric bag or even a plastic container works. This keeps them tidy and protects other items in your bag if you carry them around.
- Checking for Wear and Tear: Regularly inspect your brodders. Are the spikes worn down? Are any missing? Is the rubber band cracked or brittle? Replacing a worn-out pair is much cheaper than a trip to the emergency room. Spikes on quality brodders are often replaceable, so you might just need a small repair kit rather than a whole new pair.
Alternatives and Complementary Winter Footwear Strategies
While brodders are fantastic, they are part of a larger strategy for staying safe and comfortable during the Norwegian winter. They complement, rather than replace, good winter footwear and smart walking habits.
Choosing Proper Winter Footwear
Your primary winter boots are your first line of defense. Even with brodders, you want boots that offer some inherent stability and protection.
- Waterproof and Insulated: This is a given. You’ll be wading through slush, snow, and puddles. Keeping your feet dry and warm is essential for comfort and preventing frostbite. Look for materials like Gore-Tex or similar waterproof membranes, and sufficient insulation.
- Sole Patterns: A good, aggressive tread pattern on your boot soles will help on loose snow and uneven terrain. However, even the best tread patterns are often useless on pure ice – that's where the brodders come in. So, think of the sole as your grip on snow, and the brodders as your grip on ice.
- Norwegian Brands: Many Norwegian brands like Viking, Alfa, or Bergans specialize in winter footwear designed for these exact conditions. While they might be an investment, they are often designed with deep treads and sometimes even offer models with integrated, retractable studs for convenience. Just as Norwegians swear by Wool Underwear (Ullundertøy): Why Norwegians Insist You Wear It for warmth, they also know a thing or two about good winter boots.
- Fit and Comfort: Your winter boots should be comfortable and supportive, allowing enough room for thick wool socks without being too tight. A good fit helps prevent blisters and keeps your feet warm.
Walking Techniques and Situational Awareness
Beyond the gear, how you walk and your awareness of your surroundings make a huge difference in preventing falls.
- The "Penguin Walk": This isn't just a funny visual; it's a legitimate safety technique. Take small, shuffling steps, keep your center of gravity directly over your feet, and walk with slightly bent knees. Avoid long strides. This minimizes the risk of your feet sliding out from under you.
- Situational Awareness: Always be scanning the ground ahead. Look for darker, shinier patches (signs of black ice), areas where snow has been packed down into ice, and changes in elevation. Be extra cautious in shaded areas, under eaves where ice drips and refreezes, and on slopes. Distractions like checking your phone are dangerous on icy paths. Put it away and focus on your footing.
- Patience is Key: Don't rush. Give yourself extra time for your commute in winter. Trying to hurry on icy surfaces is a recipe for disaster. Embrace the slower pace of winter.
- The Broader Winter Picture: Remember that staying safe in winter is a holistic approach. It’s about more than just your feet. It's about dressing appropriately from head to toe, understanding the weather, and taking care of your mental well-being during the darker months. For a deeper dive into overall winter preparedness, our guide on Surviving the Norwegian Winter: Clothing, Heating, and Mørketid Dark Season is a great resource.
With the right brodders and a mindful approach, you can confidently navigate Norway’s icy landscape, turning potential tumbles into safe, steady steps. Stay safe out there!
Disclaimer
The information provided in this article is intended for general guidance and informational purposes only. While we strive to offer accurate and up-to-date advice based on our experience living in Norway and accessible resources, rules, regulations, and best practices can change. Always consult official sources, local authorities, and relevant professionals for specific advice tailored to your personal situation. We cannot be held responsible for any actions taken based on the information presented here.